5 Secrets To Perfecting Homemade Artisan Bread
 Recipe & Gourment
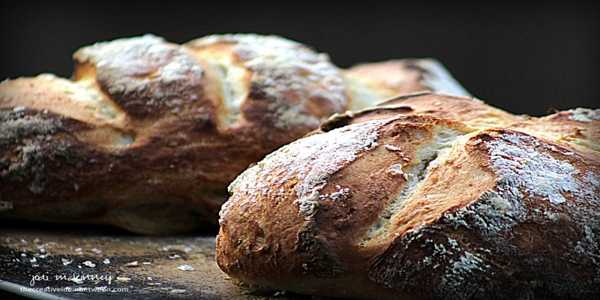
 Baking artisan bread at home may seem like an ambitious feat, but the secret to creating a rustic, golden loaf is simpler than it seems. With the right techniques and ingredients, you can transform your kitchen into a bakery. Whether you're aiming for a crispy crust, chewy interior, or that perfect balance of flavor, mastering the art of bread-making is all about the right approach. From selecting the right flour to the perfect fermentation time, the process of making artisan bread is full of little details that elevate the result. Here's how you can bring the magic of homemade artisan bread into your kitchen.
Baking artisan bread at home may seem like an ambitious feat, but the secret to creating a rustic, golden loaf is simpler than it seems. With the right techniques and ingredients, you can transform your kitchen into a bakery. Whether you're aiming for a crispy crust, chewy interior, or that perfect balance of flavor, mastering the art of bread-making is all about the right approach. From selecting the right flour to the perfect fermentation time, the process of making artisan bread is full of little details that elevate the result. Here's how you can bring the magic of homemade artisan bread into your kitchen.
Choosing The Right Ingredients
The foundation of any great bread begins with quality ingredients. While it may be tempting to take shortcuts, the type of flour you choose will greatly influence the texture and flavor of your loaf. For artisan bread, you’ll want to opt for high-protein bread flour. This type of flour contains more gluten, which is essential for the structure of the bread. Gluten helps trap the air produced by the yeast, giving the bread its airy and chewy texture. Some bakers also prefer to mix in a small percentage of whole wheat flour for added flavor.
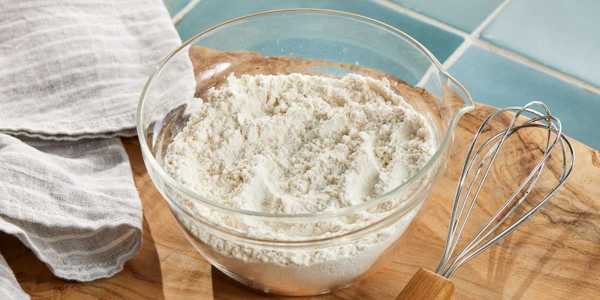
In addition to flour, the type of yeast you use can make a big difference. While active dry yeast works fine for many recipes, fresh yeast or a sourdough starter can produce a more complex flavor. Sourdough, for instance, uses wild yeast and beneficial bacteria that ferment the dough over time, leading to a tangy, rich taste and a slightly denser crumb. The importance of good salt and water should not be overlooked either. Salt enhances the flavor, while water activates the yeast and helps form the dough's structure.
Mastering The Dough Kneading Process
Kneading the dough might be one of the most satisfying parts of bread-making, but it’s also where many bakers can go astray. Kneading is crucial for developing the gluten network that gives the bread its structure. The process involves folding and stretching the dough, which allows the gluten strands to form and strengthen. If you knead by hand, aim for a rhythmic motion, pushing the dough away with the heels of your hands, folding it back over itself, and turning it 90 degrees.
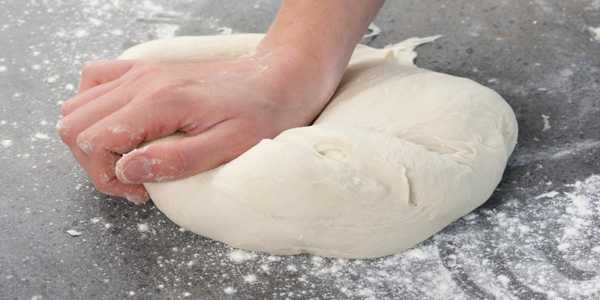
Kneading should last around 8-10 minutes, but it’s important to keep the dough hydrated throughout the process. If it feels too sticky, add a small amount of flour, but be careful not to overdo it, as this can lead to a dry, dense loaf. Many home bakers now prefer the "stretch and fold" method, where the dough is rested intermittently while being stretched and folded in intervals. This allows for easier gluten development without intensive kneading.
The Importance Of Proper Fermentation
Fermentation is where the magic happens in bread-making. This step allows the yeast to do its work, creating the bubbles that will make your bread light and airy. For artisan bread, you’ll want to give your dough plenty of time to ferment, often through two stages: bulk fermentation and proofing.
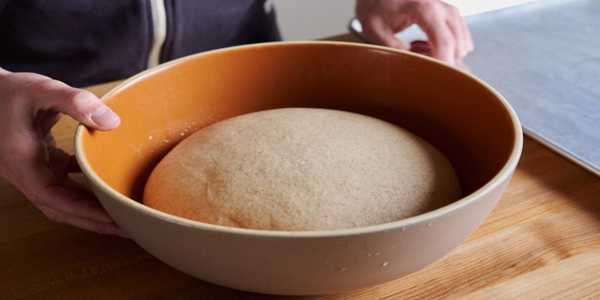
Bulk fermentation, which takes place after kneading, is the first rise of the dough. This process typically takes 1-2 hours, depending on the temperature of your kitchen. The dough should double in size, and you can test its readiness by performing the "poke test" – gently poke the dough with your finger, and if the indentation remains, it's ready for the next stage.
Proofing is the final rise before baking. After shaping the dough into a loaf, you should let it proof for an additional 1-2 hours. At this stage, the dough is even more delicate, and a longer fermentation time ensures a light, airy crumb and better flavor. Some bakers even choose to let their dough proof overnight in the fridge, a method known as cold fermentation, which intensifies the flavor.
Shaping Your Dough For Perfect Results
Once the dough has fermented, it’s time to shape it. This step is essential for creating the perfect artisan loaf. The shape will determine the bread’s final appearance and texture, so take care to form the dough gently, without deflating it completely. Whether you’re shaping a round boule, an oval bâtard, or a traditional baguette, the goal is to create a smooth surface on the dough to encourage an even rise.
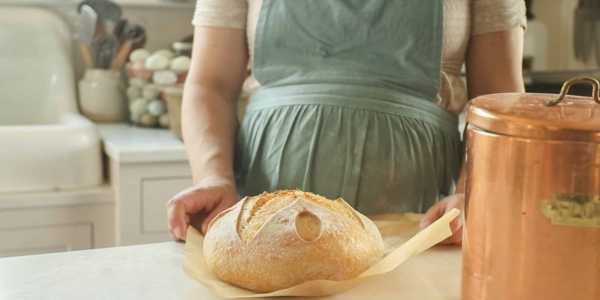
When shaping, be mindful of the dough's natural tension. You want to create a tight outer skin to help the bread rise properly during baking. To do this, gently fold the dough inwards and rotate it, pressing it slightly to remove air pockets. You can also use a banneton or a round wicker basket to help shape and support the dough during proofing. If you don't have one, a simple bowl lined with a floured kitchen towel will do the trick.
Baking Your Artisan Bread To Perfection
Baking is where your hard work comes to life, but it requires a little finesse. The key to a perfect artisan loaf is high heat and steam. Preheat your oven to around 450°F (230°C), and if possible, use a baking stone or a Dutch oven to create an even, consistent heat distribution. A baking stone absorbs and radiates heat, while a Dutch oven traps steam, which is crucial for creating the bread's signature crust.
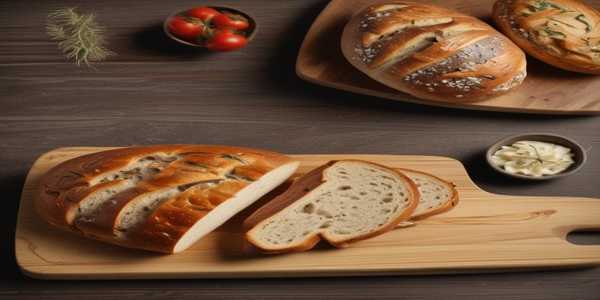
To generate steam in your home oven, place a tray of water at the bottom of the oven before baking your bread. Alternatively, you can spritz the dough with water just before placing it in the oven to mimic the effect. The steam helps to form a crispy, golden crust while keeping the interior moist and chewy.
Baking times vary depending on the size and shape of your loaf, but a good rule of thumb is 30-40 minutes for most artisan breads. To check if it’s done, tap the bottom of the loaf; if it sounds hollow, it’s ready to come out. For an extra touch, you can let the bread cool on a wire rack for an hour before slicing, which allows the flavors to develop fully.
Conclusion
Making artisan bread at home is a rewarding experience that, with practice, can lead to incredible results. By paying attention to the details—whether it's choosing the right flour, kneading the dough properly, fermenting for the ideal amount of time, or creating the perfect crust—you can master the art of bread-making. It’s a process that requires patience, but the reward is a loaf of bread that’s better than anything you could buy at the store. So, roll up your sleeves, gather your ingredients, and let the simple joy of homemade artisan bread transform your kitchen into a bakery.
